
Creating a Beads Quilt is an exciting and creative quilting project that allows you to play with colors, textures, and patterns. The Beads Quilt – Tutorial is perfect for both beginners and experienced quilters, as it offers a simple yet visually appealing design.
This quilt pattern mimics the look of beaded strands, adding a dynamic and modern touch to any quilt.
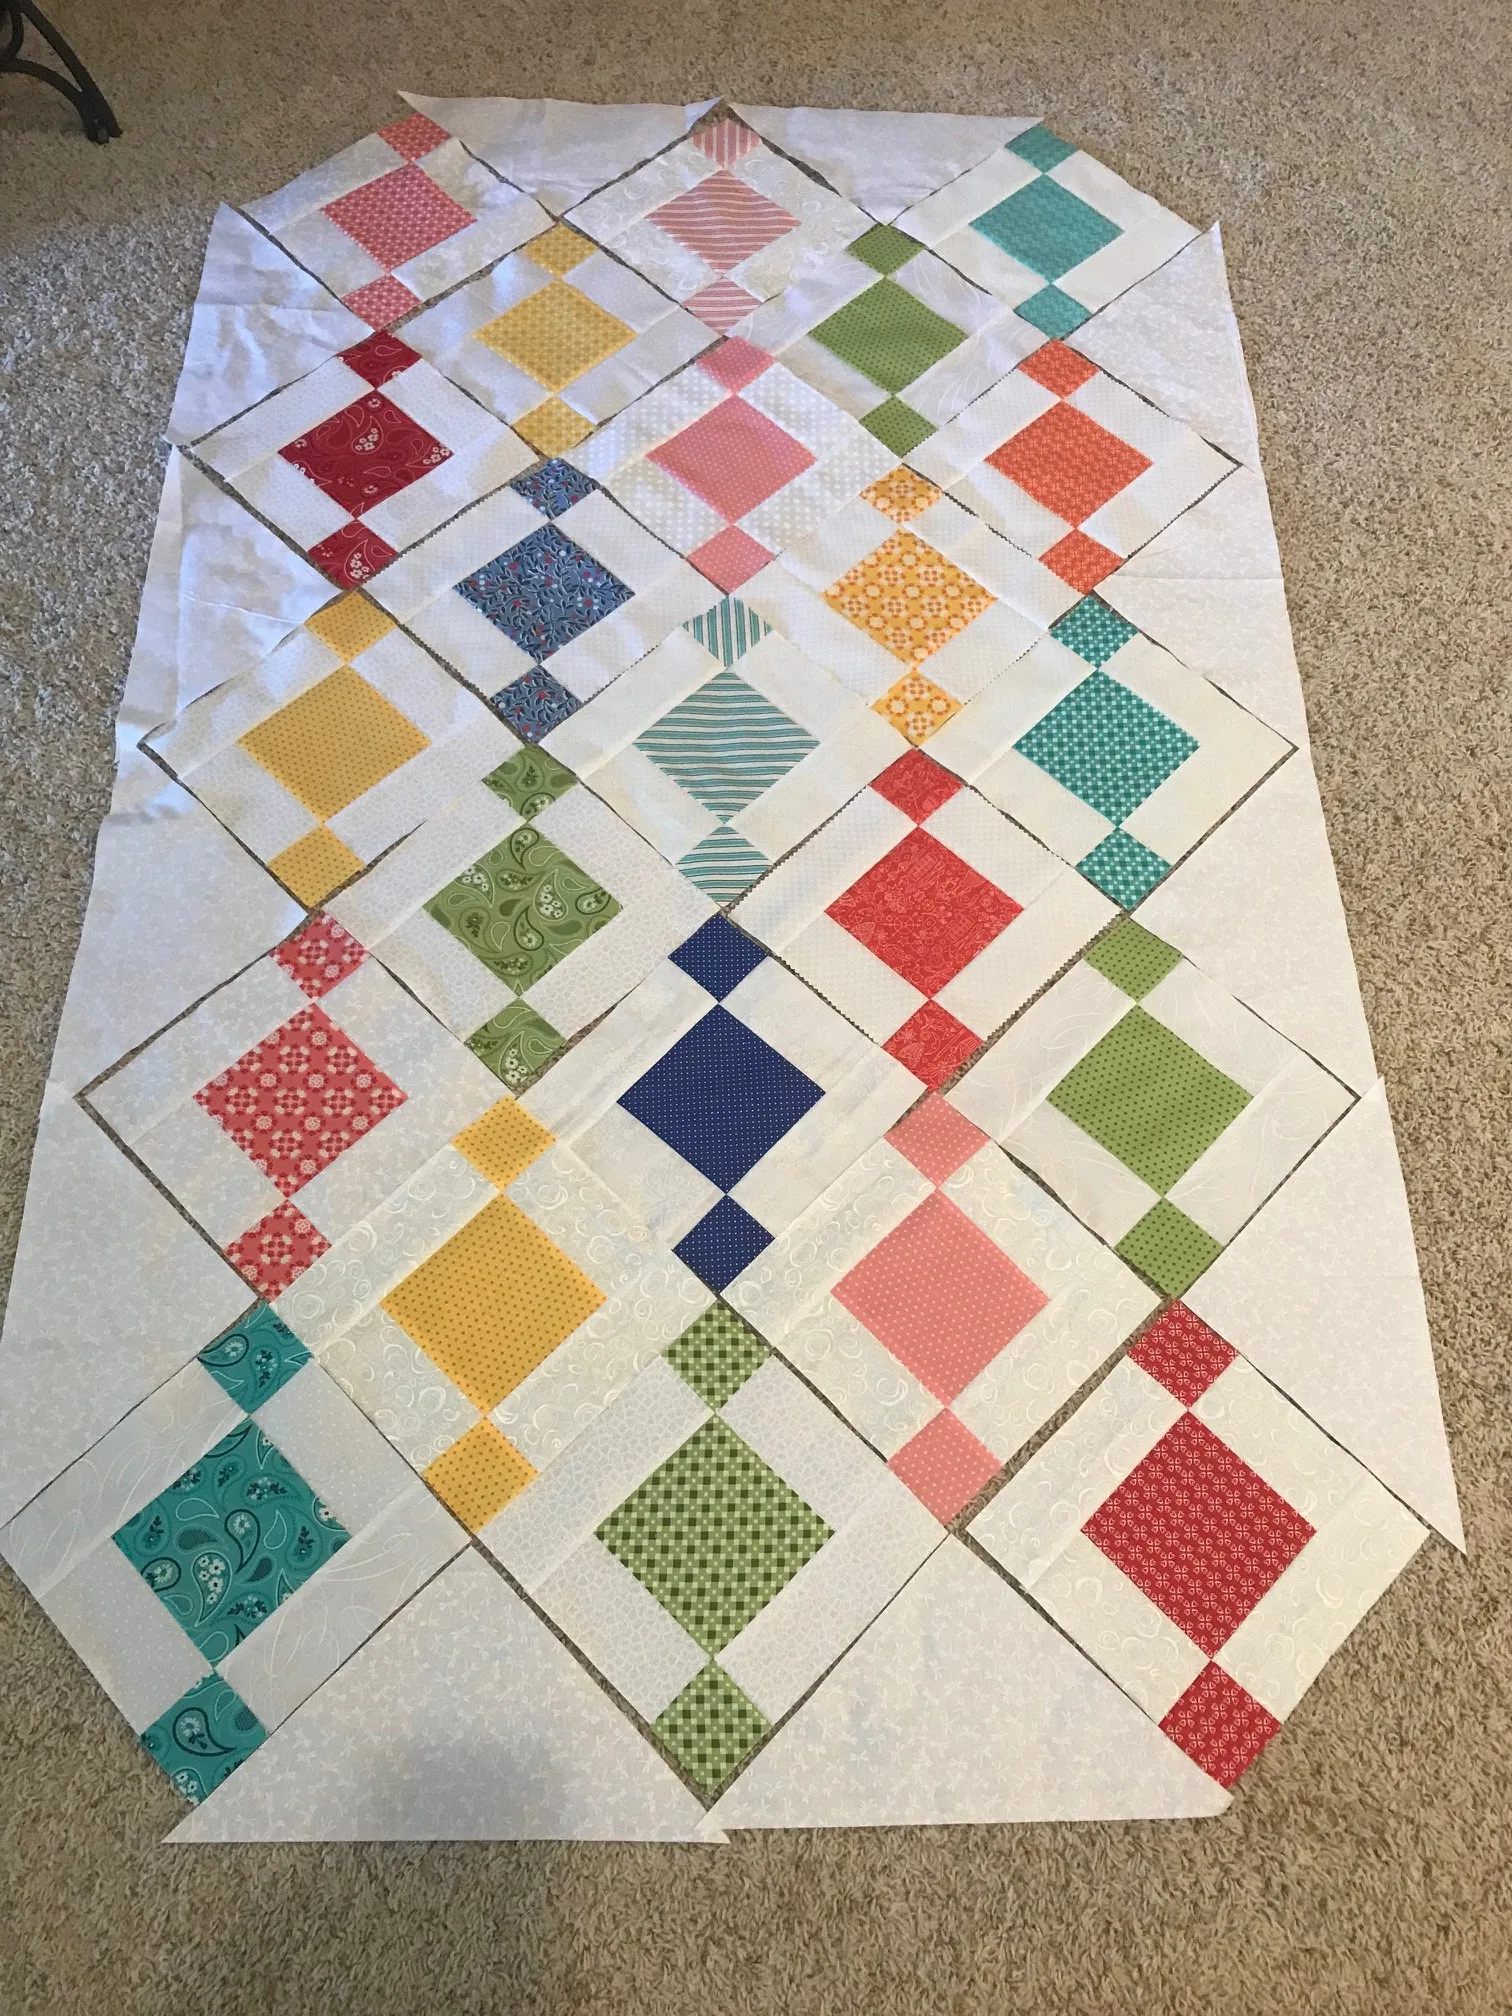
If you love experimenting with different fabric combinations, the Beads Quilt is a fantastic project to explore. The bead-like pattern can be achieved using squares and rectangles, making it easy to piece together.
Whether you prefer bold and vibrant colors or soft and pastel tones, this quilt design offers endless possibilities.
In this tutorial, we will walk you through the process of making your own Beads Quilt step by step. From selecting fabrics to assembling the blocks and finishing your quilt, you will learn essential quilting techniques to create a masterpiece.
1. Materials Needed for Beads Quilt
Before you start your Beads Quilt – Tutorial, gather the necessary materials. Having all supplies ready will make the process smoother and more enjoyable.
- Fabric Selection: Choose a variety of fabrics in different colors to create the beaded effect. Fat quarters work well for this pattern.
- Rotary Cutter and Mat: Essential for precise cutting of fabric pieces.
- Quilting Ruler: Helps measure and cut accurate shapes.
- Sewing Machine: A reliable sewing machine with a quarter-inch foot is ideal.
- Thread: Use high-quality cotton thread for durability.
- Batting: Choose a lightweight or medium-weight batting for a comfortable finish.
- Backing Fabric: The backing should complement the colors used in the quilt.
- Binding Fabric: This fabric will be used to create a neat edge around your quilt.
Having these materials ready ensures that your quilting experience is seamless and enjoyable.
2. Cutting and Piecing the Quilt Blocks
The Beads Quilt is made up of repeating blocks that create a beaded effect. Follow these steps to cut and piece your quilt blocks together.
- Step 1: Cut the Fabric Pieces Measure and cut squares and rectangles according to your desired quilt size. The blocks typically consist of a central square surrounded by smaller rectangles.
- Step 2: Arrange the Blocks Lay out your fabric pieces in a way that mimics the beaded effect. Play around with different color arrangements before sewing.
- Step 3: Sew the Blocks Use a quarter-inch seam allowance and sew the smaller pieces to the central square. Press the seams to keep them flat and neat.
- Step 4: Join the Blocks Once you have assembled individual blocks, sew them together row by row. Make sure the seams align perfectly.
- Step 5: Press the Quilt Top Pressing your quilt top ensures that it lays flat, making it easier to assemble the layers later.
3. Assembling and Quilting
After piecing your quilt blocks together, the next step is to assemble the layers and add quilting stitches.
- Step 1: Layering the Quilt Lay the backing fabric, batting, and quilt top together. Ensure all layers are smooth and well-aligned.
- Step 2: Basting the Quilt Use safety pins or basting spray to hold the layers in place. This prevents shifting while quilting.
- Step 3: Choosing a Quilting Pattern You can opt for simple straight-line quilting, free-motion quilting, or decorative stitches that enhance the beaded effect.
- Step 4: Quilting the Layers Sew through all layers following your chosen quilting design. This step secures the quilt and adds texture.
- Step 5: Trimming the Excess Fabric Trim any extra batting and backing fabric to align with the quilt top.
4. Finishing and Binding
The final step in your Beads Quilt – Tutorial is adding the binding for a polished and professional look.
- Step 1: Preparing the Binding Cut binding strips and sew them together to fit the quilt perimeter.
- Step 2: Attaching the Binding Sew the binding onto the quilt, folding it over the edges for a clean finish.
- Step 3: Hand or Machine Stitching You can hand-stitch or machine-stitch the binding to secure it in place.
- Step 4: Pressing the Finished Quilt Give your quilt a final press to enhance its appearance and remove any wrinkles.
- Step 5: Enjoy Your Finished Quilt Your Beads Quilt is now complete and ready to use or gift to someone special!
FAQ
Q: What fabric works best for a Beads Quilt?
A: Cotton quilting fabric is ideal because it is durable, easy to sew, and holds up well over time.
Q: Can I make a Beads Quilt as a beginner?
A: Yes! The Beads Quilt pattern is beginner-friendly and requires only basic sewing skills.
Q: How do I choose colors for my quilt?
A: Use complementary or contrasting colors to enhance the beaded effect. A color wheel can help with selection.
Q: What size should my quilt be?
A: The size depends on your preference. You can make a small wall hanging or a full-size bed quilt.
Q: How should I wash my finished quilt?
A: Wash on a gentle cycle with cold water and mild detergent to maintain its quality.
Join our VIP broadcast list and gain access to exclusive patterns, all for free. As a VIP member, you’ll receive the best patterns daily, delivered directly to your device. ✨📱 It’s a unique opportunity to stay up-to-date with the latest trends and designs, curated just for you. Don’t miss out on enhancing your projects and discovering new inspirations with the best patterns every day! 🎨🔝
Conclusion
The Beads Quilt – Tutorial provides a step-by-step guide to creating a stunning quilt that mimics the beauty of beaded designs. From choosing fabrics to finishing the binding, this tutorial covers all the essential aspects of quilting. Whether you are a beginner or an experienced quilter, this project allows for creativity and personalization.
We hope you enjoyed this tutorial! If you have any questions or suggestions, feel free to leave a comment. Happy quilting!